Top-down/Bottom-up Cellular Shades are versatile shades that allow for the ultimate control of light and privacy in your space. With these shades, you can lower the top to let in natural light while maintaining privacy below, raise the bottom to allow for a full view outside, or anything in between.
Why Choose Top-Down/Bottom-Up Cellular Shades?
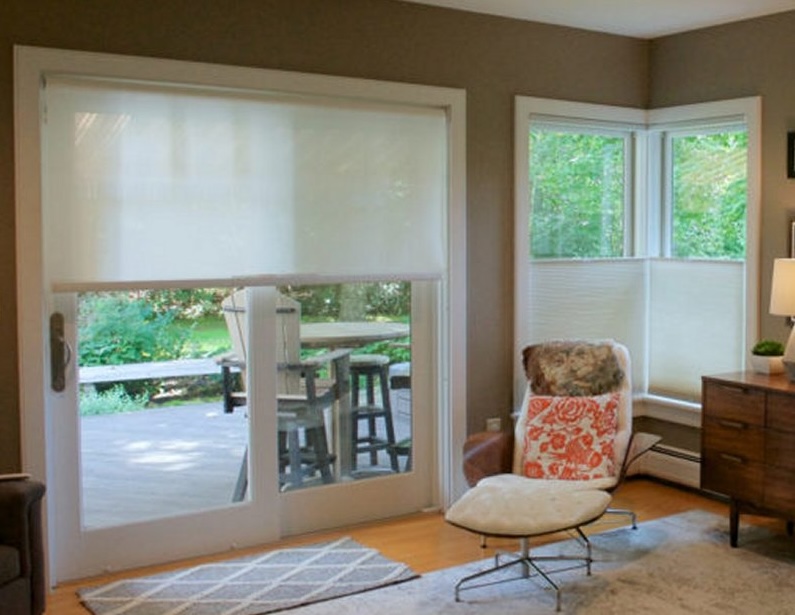
These shades combine style, functionality, and ease of use, making them a popular choice for homeowners seeking a balance between natural light and privacy. Plus, their sleek design complements any room, from bedrooms to living areas, and anything in between.
Easy Installation Guide for Top-Down/Bottom-Up Shades
While installing these shades yourself might seem like a daunting task, it’s actually much easier than you’d think. In fact, our shades are designed for DIY-friendly installation, whether you choose an inside or outside mount.
Step-by-Step Installation Process
Step 1: Attach the Metal Brackets
Inside Mount:
- Hold the shade up to the window frame where it will be installed.
- Use a pencil to mark the bracket locations, ensuring they are level.
- Pre-drill holes at the marked spots.
- Screw the mounting brackets into place with a screwdriver.
Outside Mount:
- Hold the shade against the wall or window trim where it will be installed.
- Mark the bracket locations, ensuring they are level.
- Pre-drill holes and screw the brackets into the wall or molding.
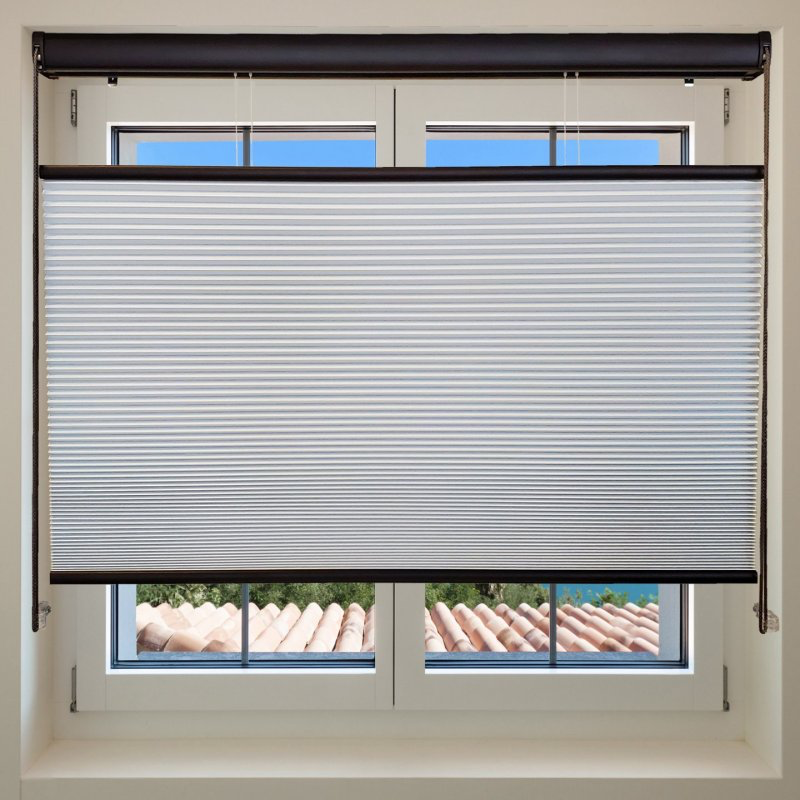
Step 2: Snap the Headrail onto the Brackets
This step is universal for both mount types. Simply snap the headrail of the shade into the brackets. Ensure it is secure and sits flush with the brackets.
We’ve broken these simple steps down further below. But remember, each shade comes with its own custom guide to installation that details specifics further.
Installing Add-ons for your Top-down/Bottom-up Shades
Side Tracks
Enhance the efficiency of your Top-down/Bottom-up Shades with side tracks– a mechanism that adds insulation and light-blocking to any style of shade. The best part? Installation of side tracks is a breeze with their “peel and stick” design. Each side track comes with its own installed magnets, and all you have to do is attach adhesive magnet strips to the sides of your window frame. Once the adhesive strips are in place, simply align the side tracks and they’ll stick to the magnets on the frame.
Standard Pull Cord
If you prefer a traditional approach to shades, our standard pull cord Top-down/Bottom-up Shades are both reliable and easy to use. Installation is straightforward: simply line up the bracket locations where you plan to mount the shades, screw them in securely, and then snap the headrail into place.
But since safety is also a priority, especially in homes with young children or pets, we recommend installing cord cleats. These small devices can be easily screwed into the wall beside your window, providing a secure place to wrap and store the pull cord when it’s not in use. This ensures both functionality and safety in your living space.
Cordless Top-Down/Bottom-Up Shades
If you’re seeking a sleek, child-safe option for your shades, cordless top-down/bottom-up shades are an excellent choice. The installation process is just as straightforward as our other models: simply line up the bracket locations where you’d like to mount your shades, screw them in securely, and then snap the headrail into place.
But that’s not all— cordless shades come with specialized handles designed for easy operation. All you need to do is snap the cordless handles onto the appropriate rail(s), and you’re all set!
For additional questions about the installation of Top-Down/Bottom-Up Shades, refer to your shades’ specific manual. Or, check out our series of videos that might provide more insight with visuals.