SIGN UP FOR THE
ECOSMART NEWSLETTER
NEVER MISS A DEAL!
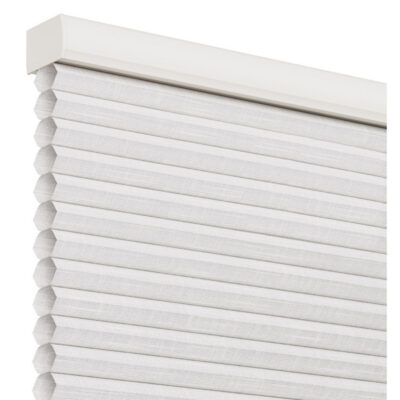
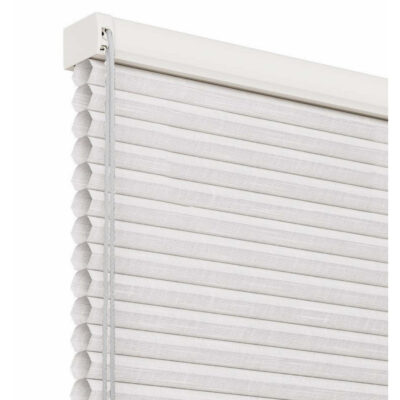
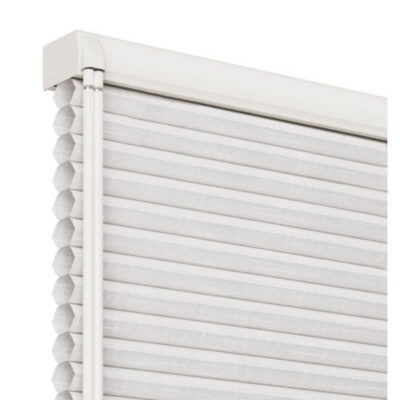
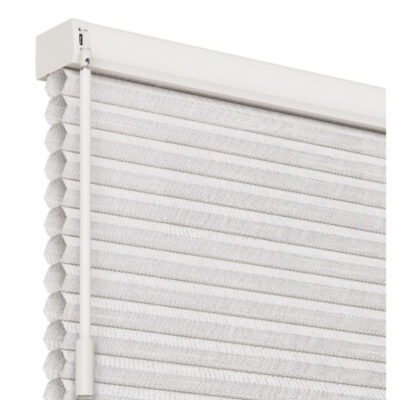
Custom-Crafted Insulating Shades
Yup, we’ve made it as simple as possible to install your customized EcoSmart window shades. The basic idea is this…
That’s it… your shade is up! Sure, there might be a detail or two after that. For cord loop shades, you’ll have to anchor the bottom of the cord using the included tensioner (easy peasy!) For cordless shades, you’ll slide plastic handles onto the operating rails. You get the idea… most everything is preconfigured for you right here in the factory, leaving you with only the final, simple touches.
Ordering motorized shades? They install just like our corded and cordless shades do! Of course, our motorized shades have all kinds of cool options available, so once installed, it could be as simple as charging your shade and then operating it right away – or you might need to set up a couple of other things (wi-fi bridge or border router, phone app, etc.). Either way, we show you how!
(Not yet sure what you want to order? Learn more about our cellular shade styles here.)
Of course, you’ll receive instructions and all the necessary components for a typical installation with your order, and we’re here to help you every step of the way. But if you’d like more installation details, you can find them below.
View the detailed instructions for your shade type:
Please note: We are currently making revisions to our written instructions, so please be sure to visit our Cellular Shade Installation Tips page for the latest info, prior to attempting to install your shades.